Yist Tutorial: Create and Manage GitHub Gists on Mac in 5 Easy Steps
加载中...
Introduction
Are you tired of juggling between your desktop and browser to manage your code snippets? Say hello to Yist, the game-changing desktop app that brings GitHub Gists to your fingertips! In this guide, we'll walk you through the process of creating a new Gist using Yist, revolutionizing the way you store and share code. Whether you're a seasoned developer or just starting out, Yist's intuitive interface and powerful features will streamline your workflow and boost your productivity. Let's dive in and discover how Yist can transform your coding experience!
Step 1: Launching Your Gist Creation Journey
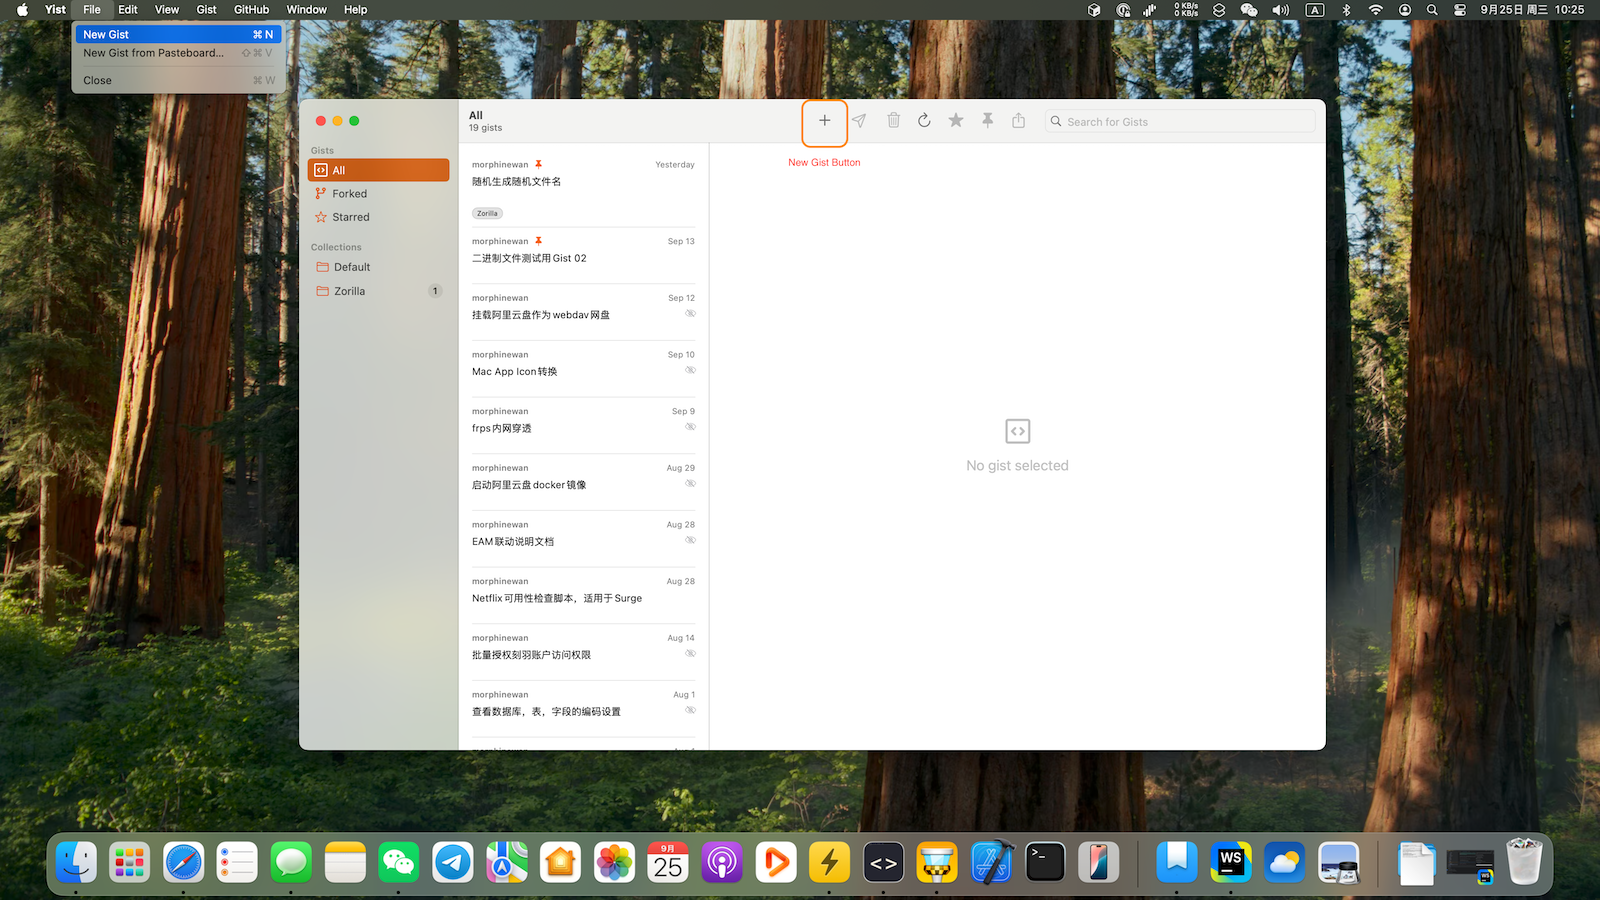
Creating a new Gist with Yist is as easy as 1-2-3! You have multiple options to kickstart your Gist creation process:
- Keyboard Ninja: Press
CMD+Nto instantly open the New Gist window. - Click Champion: Spot the "New Gist" button in the toolbar and give it a click.
- Menu Explorer: Navigate to "File" > "New Gist" in the menu bar.
Whichever method you choose, you'll find yourself in the New Gist window, ready to unleash your coding creativity!
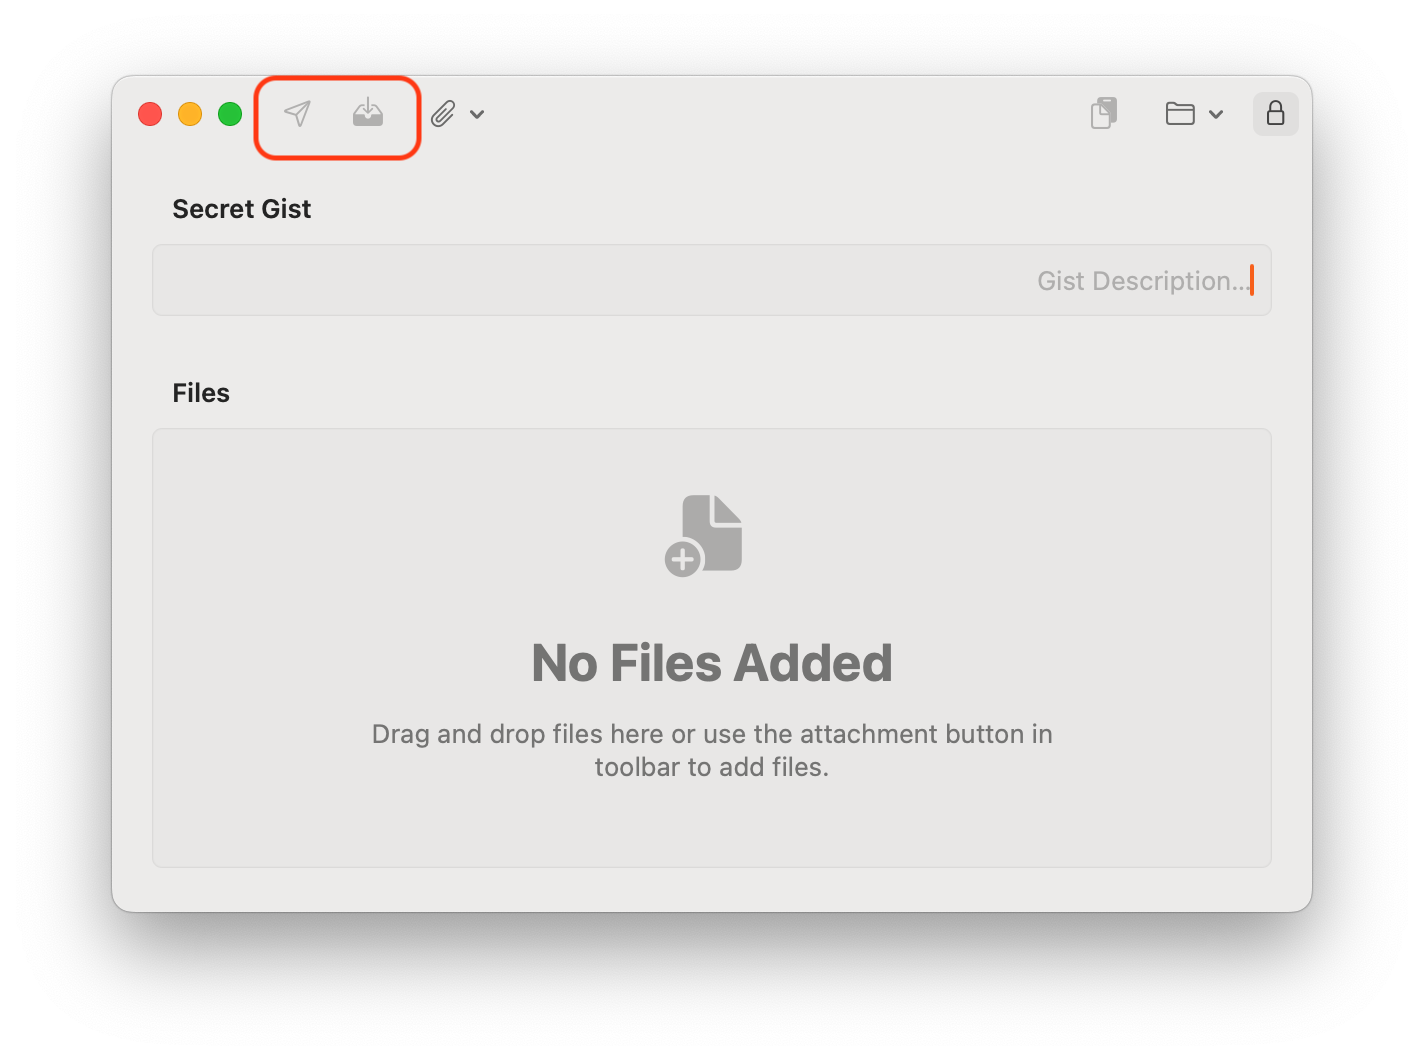
Step 2: Populating Your Gist with Powerful Content
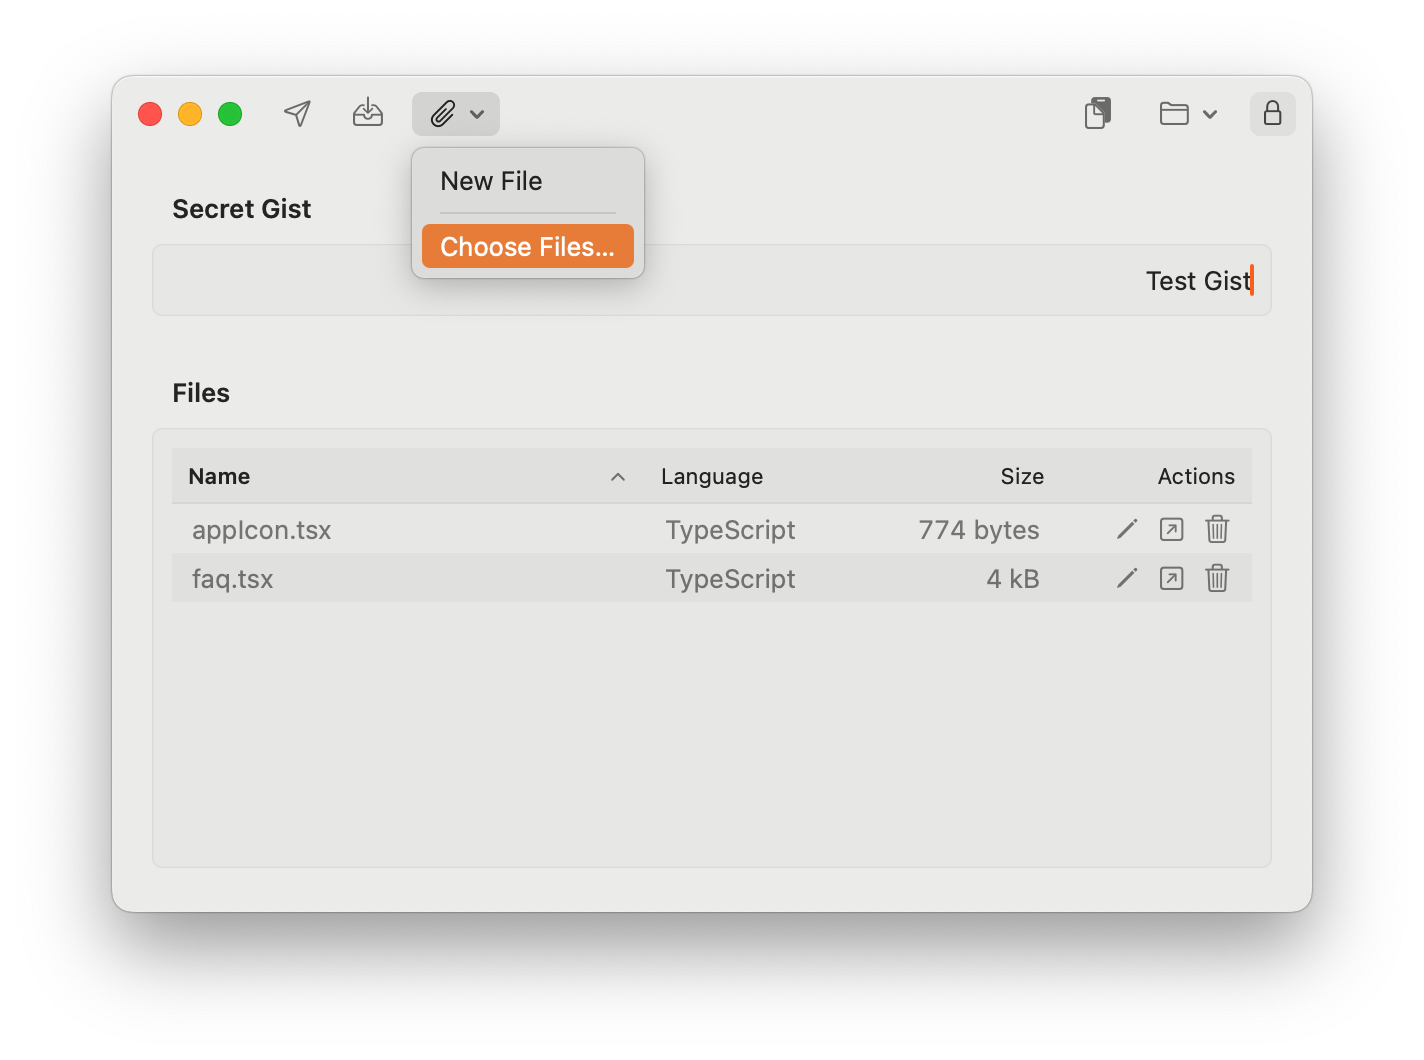
Now that you've opened the New Gist window, it's time to fill it with your brilliant code or text. Yist offers multiple ways to add content, catering to every developer's preference:
- Direct Input: Simply start typing your code directly into the editor.
- Drag and Drop Magic: Effortlessly drag files from Finder and watch them appear in your Gist.
- Copy-Paste Wizardry: Copy your code from any source and paste it into Yist.
- File Explorer: Click the "Choose File…" button to browse and select files from your Mac.
With these flexible options, you can quickly populate your Gist with single or multiple files, making it a breeze to organize and share your code snippets.
Step 3: Securing Your Gist - Public or Private?
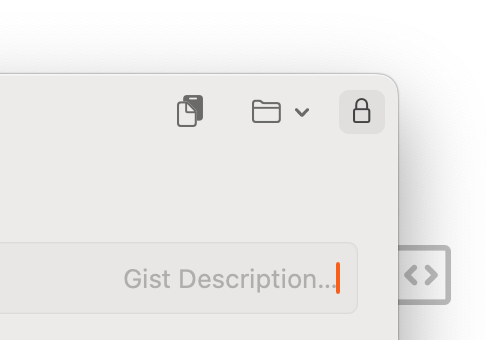
Privacy matters, especially when it comes to code. Yist gives you full control over your Gist's visibility with a simple toggle:
- Look for the lock icon in the top right corner of the window.
- A closed lock means your Gist will be secret (private).
- An open lock indicates a public Gist.
Toggle this icon to switch between public and private modes, ensuring your code is shared only with your intended audience.
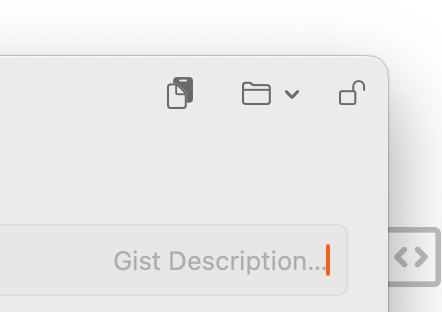
Step 4: Crafting the Perfect Gist Description
A well-crafted description can make your Gist stand out and easily searchable. Here's how to add a compelling description:
- Locate the description field at the top of the New Gist window.
- Click on it to activate the input area.
- Type a concise yet informative explanation of your Gist's contents.
Remember, a good description helps others (and your future self) understand the purpose and content of your Gist at a glance.

Step 5: Saving and Syncing Your Masterpiece
You're almost there! Now it's time to save your Gist and make it accessible. Yist offers two saving options to suit your needs:
- "Save to GitHub": Click this button to immediately sync your Gist with your GitHub account, making it instantly available online.
- "Save Draft": Opt for this if you want to store the Gist locally without syncing it to GitHub just yet.
Whichever option you choose, Yist ensures that your Gists are always at your fingertips, ready to be accessed, edited, or shared.
Conclusion
Congratulations! You've just mastered the art of creating Gists using Yist. This powerful desktop companion for GitHub Gists has revolutionized the way you can manage and share code snippets. With its intuitive interface, flexible input options, and seamless GitHub integration, Yist empowers you to focus on what matters most – your code.
Remember, Yist automatically detects the language of your files and applies syntax highlighting, making your Gists not only functional but also visually appealing and easy to read. Plus, with Yist's automatic syncing feature, you'll always have the latest version of your Gists at your fingertips, whether you're online or offline.
Ready to take your Gist game to the next level? Download Yist today and experience the future of code snippet management on your Mac!
FAQs
-
Is Yist available for Windows or Linux?
Currently, Yist is designed exclusively for Mac users. However, stay tuned for potential updates on platform availability.
-
Can I edit existing Gists using Yist?
Absolutely! Yist allows you to view, edit, and manage all your existing GitHub Gists seamlessly.
-
Does Yist require an internet connection to work?
Yist can work offline, allowing you to create and edit Gists locally without an internet connection. When you're back online, you can choose to sync your changes by clicking the "Save to GitHub" button. All modified files will appear in the "Modified" list under the "On My Mac" section, giving you control over which changes to sync.
-
Is Yist free to use?
Yist can be downloaded for free from the App Store. The free version allows you to view your existing Gists. However, to unlock all features, including the ability to modify existing Gists or create new ones, an in-app purchase is required. This one-time purchase removes all feature restrictions, giving you full access to Yist's powerful capabilities.
-
Can I collaborate on Gists with other users through Yist?
While Yist primarily focuses on personal Gist management, you can still share your public Gists with others for collaboration via GitHub.